Ultimate Guide to Crypto Hardware Wallets: Securely Manage Your Digital Assets
Are you serious about securing your cryptocurrency holdings? In the Wild West of digital finance, where fortunes can be made and lost in a blink, a crypto hardware wallet emerges as your ultimate shield. Forget leaving your precious Bitcoin and Ethereum vulnerable in easily hackable software wallets. It’s time to take control and learn how a hardware wallet can give you fortress-level security. This guide will walk you through everything you need to know, from initial setup to confidently managing your digital assets.
Why Choose a Crypto Hardware Wallet? Unveiling the Secure Fortress
Imagine storing your gold in a digital vault, completely isolated from the internet’s prying eyes. That’s precisely what a crypto hardware wallet offers. Unlike software wallets that reside on your computer or phone (and are constantly exposed to online threats), hardware wallets keep your private keys offline – in what’s known as ‘cold storage’. This simple yet powerful difference drastically minimizes your risk of hacking, phishing, and malware attacks. Think of it as the difference between leaving your door unlocked versus having a state-of-the-art security system. Ready to upgrade your crypto security?
Benefits of a Hardware Wallet:
- Unmatched Security: Private keys are stored offline, making them inaccessible to online hackers.
- Protection Against Malware: Transactions are signed on the hardware device, isolated from potentially compromised computers.
- Full Control of Your Assets: You are in complete control of your private keys and, therefore, your cryptocurrency. No third party can freeze or access your funds.
- Peace of Mind: Knowing your crypto is secured by the best available technology provides invaluable peace of mind in the volatile crypto market.
Step-by-Step Hardware Wallet Setup: Your Journey to Crypto Security
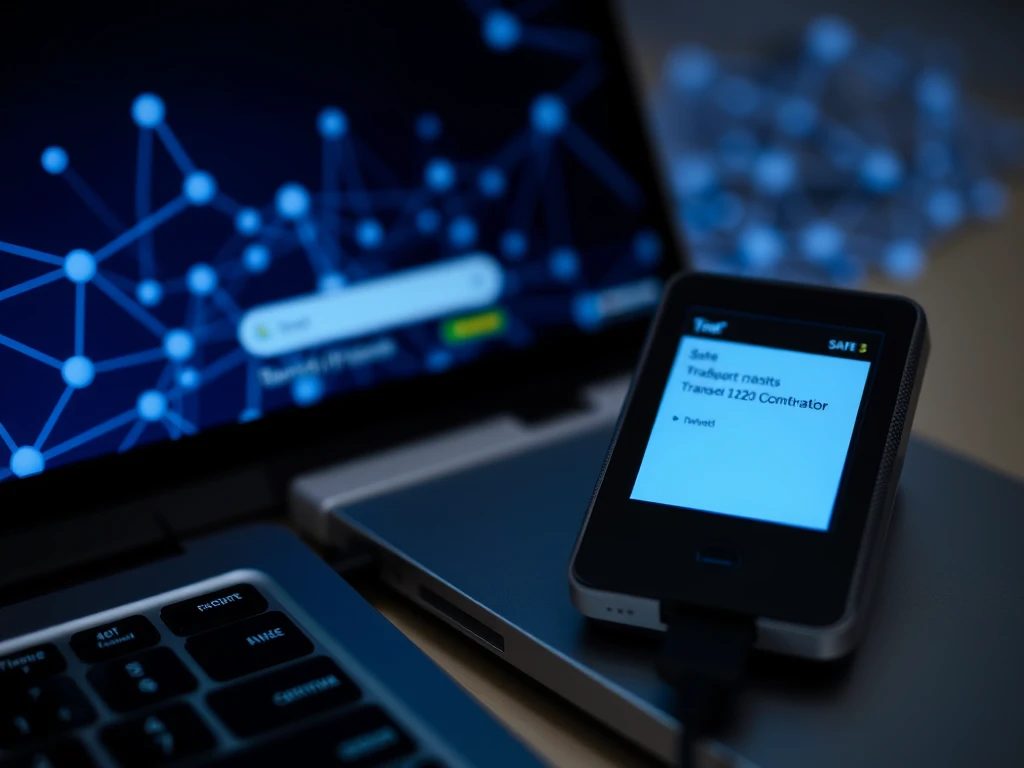
Setting up a hardware wallet setup might sound intimidating, but it’s surprisingly straightforward. We’ll use the Trezor Safe 3 as our example, a user-friendly device perfect for both beginners and seasoned crypto enthusiasts. Most hardware wallets follow a similar process, so this guide will be valuable regardless of your chosen brand. Let’s dive in and get your digital vault up and running!
What’s in the Box? Unboxing Your Trezor Safe 3:
- Trezor Safe 3 device (ensure tamper-evident seal is intact)
- USB-C cable
- Recovery seed cards (crucial for backup!)
- Quick start guide
- Trezor stickers (for showing off your crypto pride!)
First Steps: Inspect and Verify – Security First!
Before you even plug in your device, take a moment to inspect the packaging. Look for:
- Sealed, undamaged packaging: This is your first line of defense against tampering.
- Intact holographic sticker over the USB port: This sticker is a critical security feature. If it’s broken or missing, contact Trezor support immediately.
These checks are vital for ensuring your device hasn’t been compromised before it even reaches you. Remember, in crypto security, vigilance is key.
Power Up and Get Started
Once you’ve verified the device, peel off the sticker (if present) and connect your Trezor Safe 3 to your computer using the USB-C cable. It will power on automatically, displaying a small screen and two buttons – your gateway to secure crypto management. These buttons are your primary interaction points for confirming actions and navigating the device.
The Hardware Wallet Setup Process: A Detailed Walkthrough
The initial hardware wallet setup process is designed to be user-friendly and typically takes around 10-15 minutes. Grab a pen and get ready to write down some vital information. Follow these steps carefully to ensure a secure and smooth setup:
Step 1: Download Trezor Suite
Navigate to the official Trezor website and download the Trezor Suite application. It’s available for Windows, macOS, Linux, and as a web browser application. Install and open Trezor Suite, then connect your device and click “Set up my Trezor.”
Step 2: Install Firmware
Your Trezor might require firmware installation. Click “Install Firmware” in Trezor Suite. This crucial step ensures you’re starting with a secure and clean device. It’s a key part of the crypto wallet recovery process and ensures integrity.
Step 3: Verify Device Authenticity
Click “Let’s check your device” in Trezor Suite. Press the right button on your Trezor Safe 3 to authenticate. A confirmation message will appear, verifying your device is genuine. This is an essential check against counterfeit devices.
Step 4: Quick Tutorial
Your Trezor may guide you through a brief tutorial on button usage. Follow along; it’s a quick, one-time introduction to device navigation.
Step 5: Create a New Wallet
You’ll be presented with two options: “Create new wallet” (choose this for a fresh setup) and “Recover wallet” (for restoring an existing wallet using a seed phrase). Select “Create new wallet.”
Step 6: Backup Method Selection
Choose between “Standard seed backup” (recommended for most users) and “Shamir backup” (an advanced option that splits your seed phrase). Unless you’re experienced with Shamir backup, stick with the “Standard seed backup” for simplicity and robust security.
Step 7: Confirm on Device
Use the buttons on your Trezor to confirm your chosen backup method and agree to the terms displayed on the device screen. Then, press “Create wallet” to proceed.
Step 8: Write Down Your Recovery Seed – The Key to Your Crypto Kingdom!
This is the most critical step in securing your crypto cold storage. Your Trezor will generate a sequence of 12, 20, or 24 words – your recovery seed. Never take photos or digital notes of this seed! Write it down meticulously on the provided recovery seed card. This seed is your master key; keep your crypto seed phrase incredibly safe. It’s your only way to recover your funds if your device is lost, stolen, or damaged.
Step 9: Confirm the Seed – Double Check for Peace of Mind
Trezor will test you to ensure you’ve correctly recorded your seed phrase. You’ll be asked to confirm specific words (e.g., “What’s word #5?”). Use the buttons to select the correct words. Once confirmed, your backup is complete and verified.
Pro tip: Create a second physical copy of your seed phrase and store it in a separate, secure location. This redundancy provides an extra layer of protection.
Step 10: Set Up a PIN – Your Everyday Security
Now, create a PIN for your hardware wallet. In Trezor Suite, click “Set PIN.” Your Trezor will display a randomized number pad on its screen. Use the buttons to select your PIN digits. PINs can be up to 50 digits long, but choose something memorable yet not easily guessable. Remember, if you forget your PIN, you’ll need to wipe the wallet and recover using your seed phrase.
Step 11: Enable Coins and Final Setup – Customize Your Vault
Choose the cryptocurrencies you want to enable, such as Bitcoin (BTC), Ether (ETH), and others. This step also prepares your wallet for interacting with Decentralized Applications (DApps) or simply storing Bitcoin in a hardware wallet. After clicking “Complete Setup,” you can name your device and customize the home screen if desired. Finally, click “Access Suite” to enter your dashboard. Congratulations, you’ve completed your first hardware wallet setup!
Receiving Crypto with Your Hardware Wallet: Securely Funding Your Vault
With your secure crypto wallet set up, you’re ready to receive cryptocurrency. Here’s how to accept crypto securely using your Trezor hardware wallet:
1. Open the Correct Account
In Trezor Suite, select the account for the specific cryptocurrency you want to receive (e.g., Bitcoin #1 or Ether #1). Click the “Receive” tab to generate a new receiving address for your crypto cold wallet.
2. Show and Confirm the Address – Vital Security Check!
Click “Show full address” in Trezor Suite. Crucially, always verify the address displayed on your Trezor device screen matches the one shown in Trezor Suite. This essential step protects you from address-swapping malware on your computer. It’s a fundamental crypto wallet security tip.
3. Use the Address to Receive Crypto
Copy the displayed address or scan the QR code to provide to the sender or platform you’re withdrawing from. Your Trezor doesn’t need to remain connected during the transaction; the blockchain will process the transfer, and your balance will update the next time you connect and open Trezor Suite.
Pro Tips for Safe Receiving:
- Always confirm the receiving address on your hardware wallet screen. Never solely rely on the address displayed in your software.
- Use a fresh receiving address for each transaction to enhance your privacy. Trezor Suite automatically generates new addresses.
- If the address on your Trezor device doesn’t perfectly match the one in Trezor Suite, stop immediately! This discrepancy could indicate malware activity.
Sending Crypto from a Hardware Wallet: Secure Transactions, Every Time
Sending cryptocurrency from a hardware wallet is designed to keep your private keys offline throughout the entire process. Here’s how to send crypto securely:
1. Select the Correct Account
In Trezor Suite, navigate to the account holding the cryptocurrency you wish to send. Click “Send.”
2. Fill in Transaction Details
Enter the recipient’s wallet address and the amount of crypto to send. Double-check the recipient address meticulously to prevent irreversible errors. You can also switch to fiat currency view for easier amount input if needed.
3. Choose a Fee – Transaction Speed vs. Cost
For Bitcoin transactions, you can typically select from fee levels like “Low,” “Standard,” or “High,” influencing transaction confirmation speed. For Ethereum and ERC-20 tokens, Trezor Suite automatically estimates gas fees.
4. Confirm on the Device – The Final Security Gate
Click “Review & Send” in Trezor Suite. Your Trezor will display all transaction details on its screen: destination address, amount, and network fee. Carefully review every detail on your Trezor screen. Only approve the transaction by pressing the confirmation button if everything is correct. This critical step protects you from clipboard malware and ensures you’re sending to the intended recipient.
5. Transaction Sent! Securely Broadcast to the Network
Once you confirm on your Trezor, the signed transaction is broadcast to the blockchain network. Your private key remains securely offline throughout the entire process. You’ll see the transaction confirmation in your transaction history within Trezor Suite.
More Pro Tips for Secure Sending:
- If your Trezor prompts you to sign a transaction you didn’t initiate, immediately cancel it. This could indicate a compromised computer or malicious software.
- When sending Ethereum tokens, ensure you have sufficient ETH in your account to cover gas fees. Transactions will fail if gas fees are not adequately funded.
- For advanced users: Trezor supports air-gapped setups using microSD backups for even greater security in highly sensitive environments.
Using a Hardware Wallet with MetaMask and DeFi: Bridging Security and Functionality
Want to participate in the exciting world of Decentralized Finance (DeFi) and NFTs while maintaining top-tier security? A DeFi hardware wallet integration with MetaMask makes this possible. Trezor Safe 3 seamlessly connects with MetaMask, allowing you to interact with DApps and sign transactions securely.
1. Connect Trezor to MetaMask
Open MetaMask in your browser. Click on your account icon in MetaMask and select “Connect Hardware Wallet.” Choose “Trezor” when prompted.
2. Plug in Your Trezor and Authorize Connection
Connect your Trezor to your computer if it’s not already plugged in. MetaMask might prompt you to install Trezor Bridge, a small utility that facilitates communication between MetaMask and your hardware wallet. You’ll be asked to authorize MetaMask to read your public key from the Trezor. This is safe and doesn’t expose your private keys.
3. Select a Wallet Address in MetaMask
MetaMask will display a list of your Trezor-linked Ethereum addresses (e.g., “Ethereum #1”). Select the address you want to use and click “Unlock.” This address will now appear in MetaMask, clearly marked as a hardware wallet-connected account.
How it Works: Seamless Security for DApps
From this point forward, whenever you initiate a transaction within MetaMask – whether it’s swapping tokens on Uniswap, minting an NFT on OpenSea, or interacting with any other DApp – the process will be:
- Initiate the transaction in MetaMask as usual.
- Transaction details will appear on your Trezor screen for verification.
- Physically confirm the transaction using the buttons on your Trezor device.
This workflow ensures that even if your browser or computer is compromised, the final transaction authorization always happens on your trusted hardware wallet, keeping your assets safe.
Final Safety Tip: Trust Your Hardware Wallet Screen Above All Else
Your hardware wallet’s screen is the most trustworthy source of transaction information. Never rely solely on what you see in your browser or software wallet interface. Always double-check transaction details directly on your hardware wallet before confirming.
Why Hardware Wallets are Essential in 2025 and Beyond
In the ever-evolving landscape of cryptocurrency, secure crypto wallets, particularly hardware wallets, are not just recommended – they are essential. Whether you are focused on long-term crypto cold storage, actively participating in DeFi, or exploring the world of NFTs, hardware wallets provide the robust security needed to navigate the digital asset space with confidence. Devices like the Trezor Safe 3 offer a powerful combination of security and user-friendliness, making advanced crypto security accessible to everyone.
If the Trezor Safe 3 seems like the right choice for you, you can find it at a discount through this link. It’s a smart investment in the safety of your digital future. Still exploring your options? Check out the updated 2025 guide to the best hardware wallets for in-depth comparisons of Ledger, Trezor, and other advanced models, covering multichain support, backup strategies, and offline storage solutions.
Disclaimer: Crypto News Insights does not endorse any content or product on this page. While we have striven to provide all the essential information available in this article, please note that it contains affiliate links. Readers are encouraged to conduct their own research before making any decisions related to the company. This article should not be considered investment advice.
#Blockchain #Cryptocurrencies #Wallet #Technology #Fintech #Adoption #Hardware Wallet #e-wallet #DeFi #How to