Crypto Hardware Wallet: The Essential Guide to Secure Your Digital Assets
In the dynamic world of digital assets, security is paramount. As you navigate the exciting landscape of Bitcoin, Ethereum, and other cryptocurrencies, ensuring the safety of your holdings becomes a top priority. This is where a crypto hardware wallet truly shines, offering a robust solution for self-custody. Unlike software wallets, hardware wallets keep your crucial private keys offline, significantly reducing your exposure to online threats. If you’re ready to take full ownership of your crypto and fortify your defenses, this comprehensive guide will walk you through everything you need to know, using the Trezor Safe 3 as a practical example.
Beginning Your Journey: Hardware Wallet Setup Essentials
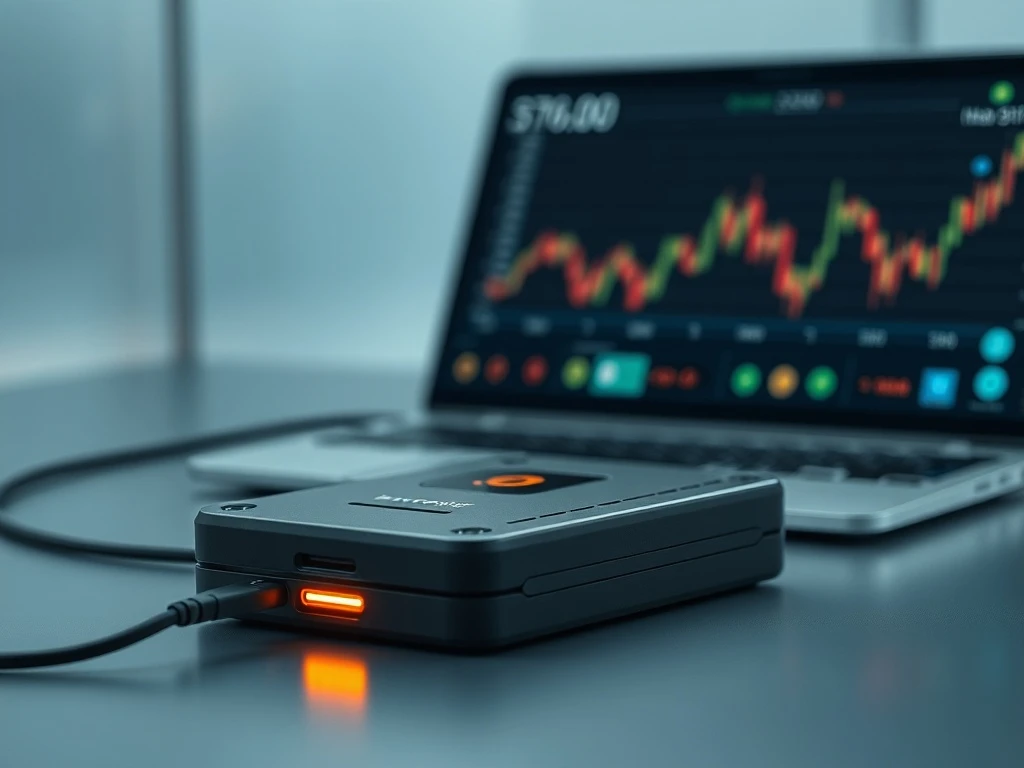
Before diving into transactions, a proper hardware wallet setup is crucial. The initial steps ensure your device is authentic and ready for secure use. Most hardware wallets, including the Trezor Safe 3, come with a standard set of components and require a few key checks before you even power them on.
What’s in the Box?
When you unbox a typical hardware wallet, you’ll find:
- The device itself, often with a tamper-evident seal.
- A USB-C cable for connectivity.
- Recovery seed cards, essential for backing up your wallet.
- A quick start guide.
- Sometimes, branded stickers.
First Steps: Inspect and Verify Your Device
Before plugging in your new device, perform a quick but vital inspection:
- Check for sealed, undamaged packaging. Any signs of tampering should raise a red flag.
- Look for an intact holographic sticker over the USB port. This seal is your first line of defense against pre-delivery tampering.
If anything seems suspicious, contact the manufacturer’s support immediately. This verification step is a critical crypto wallet security tip.
Powering On Your Device
Once verified, peel any protective stickers and connect your hardware wallet via the USB cable to your computer. Devices like the Trezor Safe 3 power on automatically, requiring no battery or power button. You’ll interact with the device using its small screen and physical buttons to confirm actions and approve transactions.
Your Step-by-Step Hardware Wallet Setup Guide
Getting your hardware wallet ready is a straightforward process, typically taking 10-15 minutes. For this guide, we’ll use the Trezor Safe 3. Have your computer ready and a pen and paper nearby – you’ll need to write down some vital information soon.
Step 1: Download Trezor Suite
Navigate to the official Trezor website and download the Trezor Suite application. It’s available for Windows, macOS, Linux, and as a web browser version. Once installed, open it, plug in your Trezor device, and follow the on-screen prompts. Click ‘Set up my Trezor’ to begin.
Step 2: Install Firmware
Your device might not have pre-installed firmware. If prompted, click ‘Install Firmware.’ This step ensures your device runs the latest, most secure software, which is part of a robust crypto wallet recovery process.
Step 3: Verify Device Authenticity
In Trezor Suite, click ‘Let’s check your device.’ You’ll then press the right button on your Safe 3 to authenticate. A confirmation message will appear, verifying your device’s authenticity.
Step 4: Quick Tutorial
The device may provide a brief tutorial on button usage. Follow along; it’s a one-time walkthrough to familiarize you with navigation.
Step 5: Create a New Wallet
You’ll be presented with two options: ‘Create new wallet’ (choose this for a first-time setup) or ‘Recover wallet’ (for restoring a wallet using a seed phrase).
Step 6: Select Backup Method
Choose between ‘Standard seed backup’ (the most common and easiest method) or ‘Shamir backup’ (an advanced method that splits your seed into multiple parts). For most users, the standard method is recommended.
Step 7: Confirm on Device
Use the physical buttons on your Trezor to confirm your chosen backup method and agree to the terms. Press ‘Create wallet’ to proceed.
Step 8: Write Down Your Recovery Seed
This is the most critical step for secure crypto storage. Your device will generate a random list of 12, 20, or 24 words – this is your recovery seed. Trezor will explicitly warn you against taking photos or digital notes of this seed. Write it down precisely on the provided recovery cards and store these cards in a highly secure, private location. This seed phrase is your ultimate key for future wallet recovery.
Step 9: Confirm the Seed
To ensure you’ve written it down correctly, your device will test you by asking for specific words (e.g., ‘What’s word #5?’). Select the correct words using the device’s buttons. Once confirmed, your backup is complete. Pro Tip: Create a second copy of your seed phrase and store it in a different secure location, away from the first copy. This adds an invaluable layer of protection.
Step 10: Set Up a PIN
Now, create your hardware wallet PIN. In Trezor Suite, click ‘Set PIN.’ Your device will display a randomized number layout. Use the buttons to select your desired digits. PINs can be up to 50 digits long. Choose a PIN that is memorable to you but not easily guessable. If you forget your PIN, you will need to wipe the wallet and recover it using your seed phrase.
Step 11: Enable Coins and Final Setup
Finally, select which cryptocurrencies you wish to enable, such as Bitcoin (BTC), Ether (ETH), and others. This step prepares your wallet for managing various assets and interacting with decentralized applications (DApps). After clicking ‘Complete Setup,’ you can personalize your device by naming it or customizing its home screen. Then, hit ‘Access Suite’ to open your dashboard. Congratulations! You’ve successfully completed your first hardware wallet setup, taking a significant leap toward secure crypto storage.
Receiving and Sending Crypto: Mastering Secure Crypto Storage
With your device set up, you’re ready to manage your digital assets. The beauty of a hardware wallet is that your private keys remain untouched and offline during all transactions, providing unparalleled security.
Receiving Crypto with Your Hardware Wallet
To safely accept funds into your Trezor:
- Open the Correct Account: In Trezor Suite, select the specific account for the crypto you want to receive (e.g., ‘Bitcoin #1’ or ‘Ether #1’). Click the ‘Receive’ tab to generate your unique wallet address.
- Show and Confirm the Address: Click ‘Show full address’ in the app. Crucially, your Trezor device will display the full address on its screen. Always, always confirm that the address shown on your hardware wallet matches the one in your software. This vital step prevents malware from altering the address on your computer screen.
- Use the Address: Copy the address or scan the QR code to send funds from another wallet or exchange. Your Trezor does not need to remain connected after you’ve copied the address; the blockchain will process the transaction, and your balance will update the next time you connect your wallet.
Pro Tips for Safe Receiving:
- Always verify the address on your device’s screen.
- For enhanced privacy, use a fresh address for each transaction (Trezor Suite supports this).
- If there’s any discrepancy between the address on your device and your computer screen, stop immediately.
Sending Crypto from Your Hardware Wallet
Sending crypto with a hardware wallet ensures your private keys offline, even when broadcasting a transaction. Here’s how:
- Select the Correct Account: In Trezor Suite, navigate to the account holding the asset you wish to send. Click ‘Send.’
- Fill in Transaction Details: Enter the recipient’s wallet address and the amount you want to send. Double-check the recipient address meticulously to avoid irreversible mistakes.
- Choose a Fee: For Bitcoin, you can select from various fee levels (Low, Standard, High). For Ether or ERC-20 tokens, Trezor Suite automatically estimates the necessary gas fees.
- Confirm on the Device: Click ‘Review & Send’ in the software. Your Trezor will then display all transaction details: the destination address, the amount, and the network fee. Only approve the transaction by pressing the physical buttons if every detail checks out. This process actively protects you from clipboard malware or phishing attempts.
- Transaction Sent: Once approved on your device, your signed transaction is broadcast to the network, with your private key never leaving the hardware wallet. You’ll see a confirmation in your transaction history.
More Pro Tips for Sending:
- If your Trezor prompts you to sign a transaction you didn’t initiate, cancel it immediately.
- Ensure you have sufficient ETH balance to cover gas fees when sending ERC-20 tokens.
Unlocking DeFi & NFTs: Seamless MetaMask Integration
Want to leverage your hardware wallet for decentralized finance (DeFi) or non-fungible tokens (NFTs) while keeping your keys secure? The Trezor Safe 3 offers seamless MetaMask integration, allowing you to interact with DApps safely.
How to Connect Trezor to MetaMask
- Open MetaMask: Launch the MetaMask extension in your web browser. Click on your account icon, then select ‘Connect Hardware Wallet.’ Choose ‘Trezor’ when prompted.
- Plug in Your Trezor: If not already connected, plug in your Trezor device. MetaMask might ask you to install ‘Trezor Bridge,’ a small utility that facilitates communication. You’ll then be asked to approve the reading of your public key from the hardware wallet. This is safe and does not expose your private keys.
- Select a Wallet Address: MetaMask will display a list of your Ethereum addresses linked to your Trezor. Choose the one you wish to use (e.g., ‘Ethereum #1’) and click ‘Unlock.’ The wallet will now appear in MetaMask, clearly marked as a hardware wallet.
How MetaMask Integration Works for Transactions
From this point forward, every time you initiate a transaction through MetaMask – whether it’s swapping tokens on Uniswap, minting an NFT, or interacting with a DeFi protocol – you will follow this secure flow:
- You initiate the transaction within MetaMask.
- The transaction details are then pushed to your Trezor screen.
- You physically confirm and approve the transaction using the buttons on your hardware device.
This ensures that even if your computer or browser were compromised, the final, critical approval step happens on your trusted hardware wallet, where your private keys offline remain isolated from online threats. Always remember: your hardware wallet’s screen is the most reliable source for verifying transaction details. Never solely trust what you see on your computer screen.
Why Hardware Wallets Are Indispensable for Your Crypto Journey
In the ever-evolving landscape of digital assets, hardware wallets stand as the gold standard for security. They offer a robust defense against common cyber threats, providing peace of mind through true self-custody. Here’s a quick comparison:
| Feature | Hardware Wallet | Software Wallet |
|---|---|---|
| Key Storage | Offline (secure element) | Online (computer/phone) |
| Security Level | Highest (resistant to malware, phishing) | Moderate (vulnerable to online threats) |
| Ownership Control | Full self-custody; keys always with you | Can be compromised if device is infected |
| Best For | Long-term storage, large amounts, DeFi/NFTs | Small amounts, frequent transactions |
Whether you are looking to store Bitcoin securely, engage with complex DeFi protocols, or collect unique NFTs, a crypto hardware wallet provides the foundational security you need. With intuitive setup, robust recovery tools like seed phrases, and seamless integration with popular platforms like MetaMask, these devices offer powerful protection alongside ease of use.
Taking control of your digital assets through a hardware wallet is one of the most empowering steps you can take in your crypto journey. It’s an investment in your financial sovereignty and security. If the Trezor Safe 3 aligns with your needs, or if you’re still exploring the best options for secure cold storage, remember that the goal is always to keep your valuable private keys offline and your assets safe.