Mastering the Bitcoin Liquidation Map: Avoid Costly Whale Traps
Ever wondered how some traders seem to predict market reversals or anticipate major price swings in the volatile crypto market? While no tool is foolproof, understanding the **Bitcoin liquidation map** offers a unique perspective. It’s often called the ‘secret map’ because it visually highlights areas where large numbers of leveraged trading positions could be forced closed. Knowing how to read this map can help you navigate the market, potentially avoiding significant losses and even identifying opportunities.
What is Crypto Liquidation and Why Does it Matter?
In cryptocurrency trading, especially when using leverage, liquidation is the forced closure of a trader’s position by an exchange. This happens when the trader’s margin falls below a required level, typically because the market has moved sharply against their bet. It’s a critical concept to grasp because a single large liquidation can trigger a cascade, rapidly moving the price and liquidating even more positions.
- **Long Liquidations:** Occur when prices fall, impacting traders betting on price increases.
- **Short Liquidations:** Occur when prices rise, impacting traders betting on price decreases.
Understanding where potential liquidations are clustered is vital for any serious **trading strategy** in crypto.
Decoding the Bitcoin Liquidation Map
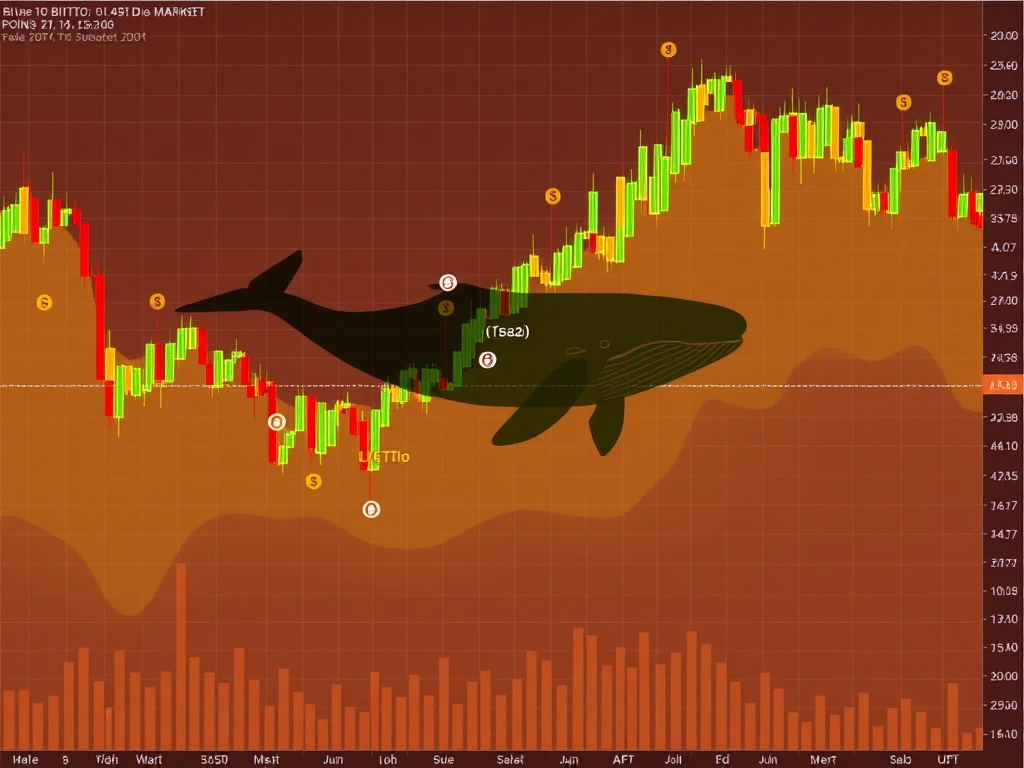
A **Bitcoin liquidation map** is a visual tool, often presented as a heatmap on a price chart. It shows price levels where significant amounts of open leveraged positions are concentrated. These concentrations represent potential liquidation points.
Think of it like this:
- **Heat Zones:** Bright or dense areas indicate price levels with a high volume of potential liquidations. These zones act like magnets for price action.
- **Liquidity Pools:** These are collections of stop-loss and liquidation orders. Reaching these pools can cause rapid price movements as orders are triggered.
- **Open Interest:** The map reflects the total value of open leveraged positions at different price levels.
Tools like CoinGlass provide real-time views of these maps, showing where major liquidation clusters lie above (for short positions) and below (for long positions) the current price.
How Whale Activity Intersects with Liquidation Maps
This is where the concept of **whale activity** becomes crucial. Large traders, often called ‘whales’ due to their significant capital, are aware of these liquidation clusters. These clusters represent areas of high liquidity where they can potentially move large positions with less slippage or even intentionally push the price towards these zones to trigger liquidations.
Why would they do this? Triggering liquidations can create volatility, allowing whales to enter or exit positions favorably. By observing the liquidation map, you gain insight into potential targets for large market participants.
Implementing a Trading Strategy Using the Map
Incorporating the **Bitcoin liquidation map** into your approach can refine your trading strategy. It’s not a standalone indicator but a powerful layer of context.
- **Identify High-Risk Zones:** Use the map to spot areas with dense liquidation clusters. Avoid over-leveraging near these levels, as price is likely to be drawn towards them.
- **Refine Entry/Exit Points:** Consider entering trades *before* price reaches a major cluster and setting profit targets near, but not directly at, major clusters to avoid getting caught in sudden reversals.
- **Set Stop-Loss Levels:** The map can help inform where to place stop-loss orders, ideally *outside* major liquidation zones to prevent premature stops triggered by price movements targeting liquidity.
- **Combine with Other Tools:** Always use the liquidation map alongside technical analysis indicators (like support/resistance, RSI) and fundamental analysis for a complete picture.
Avoiding Common Pitfalls with Leverage Trading
While the **Bitcoin liquidation map** is insightful, misusing it can lead to mistakes. Here are common errors to avoid, especially when engaging in **leverage trading**:
- **Blindly Trading Towards Liquidity:** Don’t assume price *must* hit a liquidation zone. Markets are complex, and other factors can override this tendency.
- **Ignoring Market Context:** The map is one data point. Macro news, sentiment, and overall market structure are equally important.
- **Over-Reliance:** The map shows potential, not certainty. Treat it as a guide, not a crystal ball.
- **Misinterpreting Visuals:** Ensure you understand the scale and intensity indicated by the map’s colors and bars.
Smart trading involves using multiple tools in conjunction and maintaining robust risk management practices, especially with leverage.
Conclusion: Empowering Your Trading Decisions
The **Bitcoin liquidation map** provides a valuable perspective on market dynamics, revealing areas of potential volatility driven by concentrated leveraged positions. By understanding how these maps work and how **whale activity** might target these zones, you can make more informed decisions about your **trading strategy**. While it won’t eliminate risk, incorporating this tool can help you better anticipate price movements, refine your entry and exit points, and crucially, avoid becoming another statistic in a **crypto liquidation** cascade. Use it wisely, combine it with other analysis, and prioritize risk management to navigate the crypto market with greater confidence.
This article provides educational information and does not constitute financial advice. Always conduct your own research before trading or investing.